Last year my friend Vanicha had a personal project that involved some rain. She was recruiting some of her specialized friends to work on some aspects of it. I jumped in to work on some rain, and if you’ve seen my reel, you’ve probably noticed the prototype I developed for that project. Sadly the project had to be suspended for multiple reasons, but I got it to a decent place.
Lately, I’ve been working on improving my reel. After all, that’s the way of presenting myself to the world of CG. So I decided to update this prototype and transform it into some sort of finished shot.
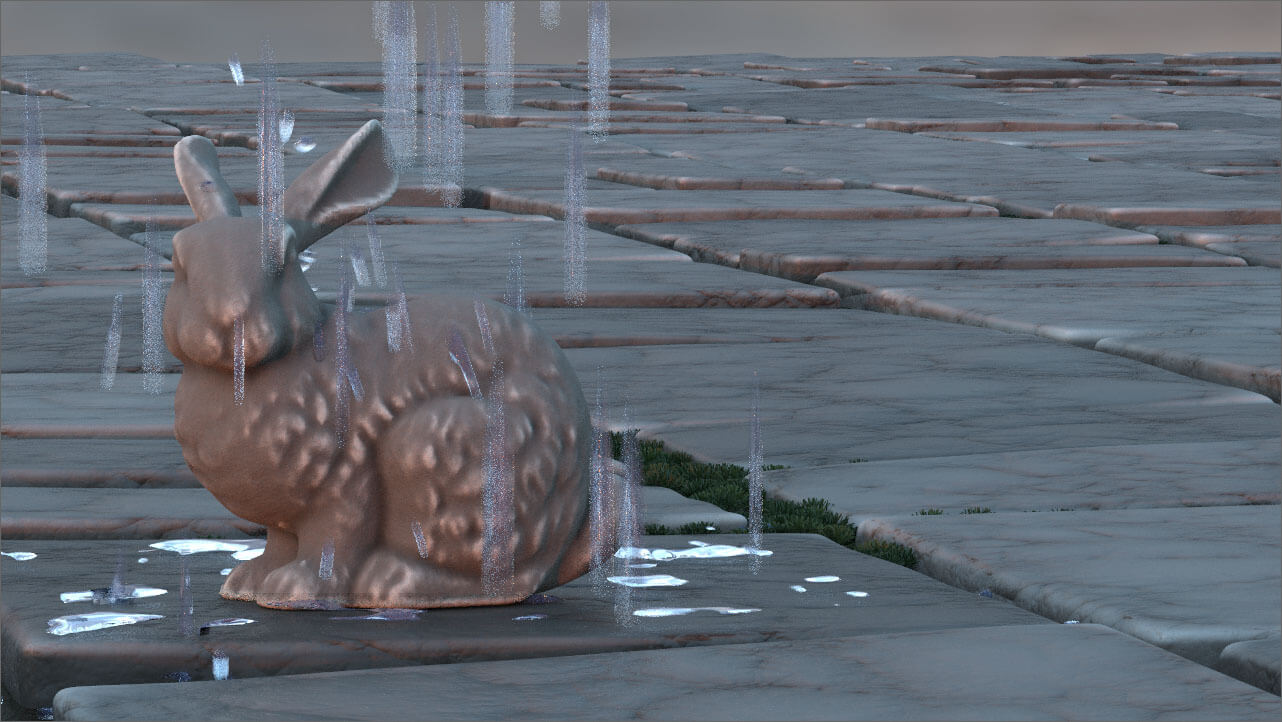
Early Prototype (The one I just mentioned from my reel)
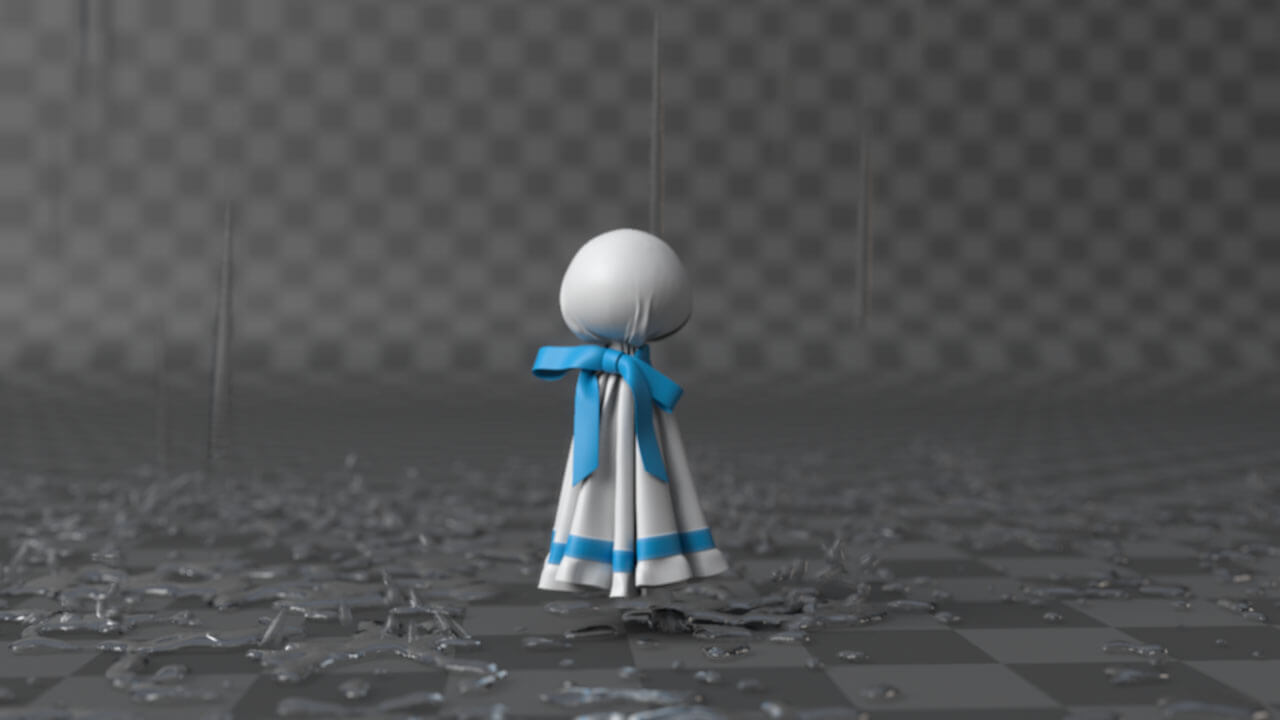
There are many things I wanted to address on this new pass. One of them being replacing Vanicha’s rain doll, since this will in the end become my own shot. I thought of making the scene happen explicitly outdoors. Also I kind of wanna have wet maps, since they would really make a huge difference. We’ll see how that goes, though. I’m a little intimidated by that step.
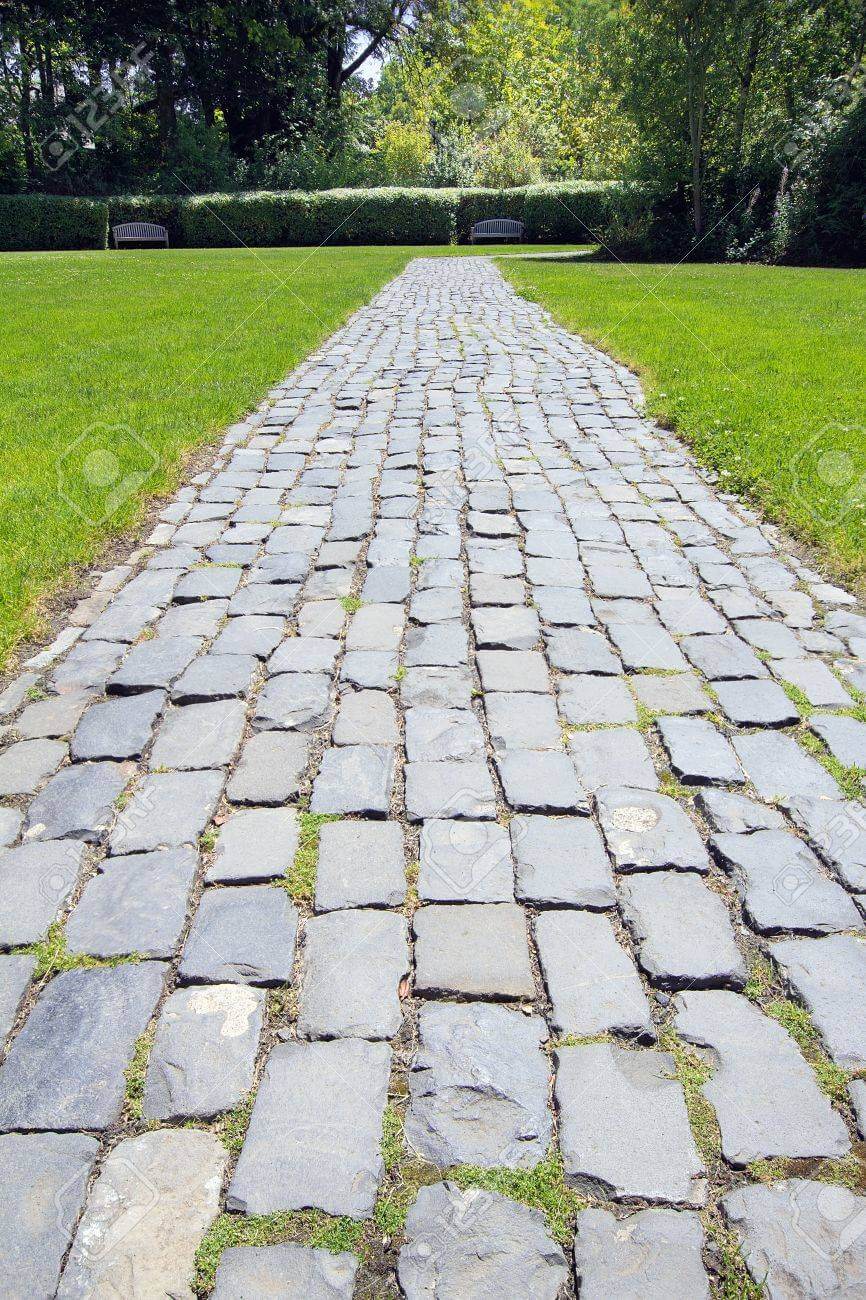
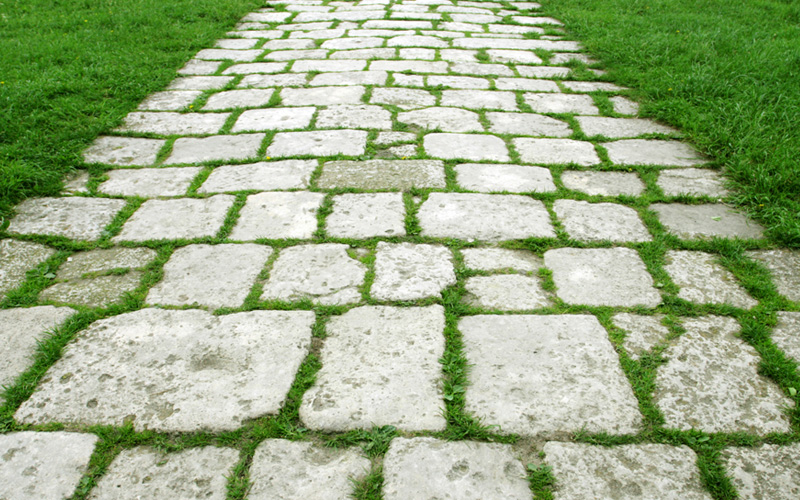
So, as I stated before, I wanted to make some sort of exterior location that would play nice with the rain and would showcase wetmaps properly. I decided to go with a cobblestone scene with maybe some dirt and maybe some sort (ornamental) moss. I Googled some and got some reference for it.
Now, mind you, I’m not trying to replicate the exact look of one of them, but making my own version based on them. Especially since I don’t want grass or moss to be a protagonist but more of a background ornamental element (I feel like I am repeating myself).
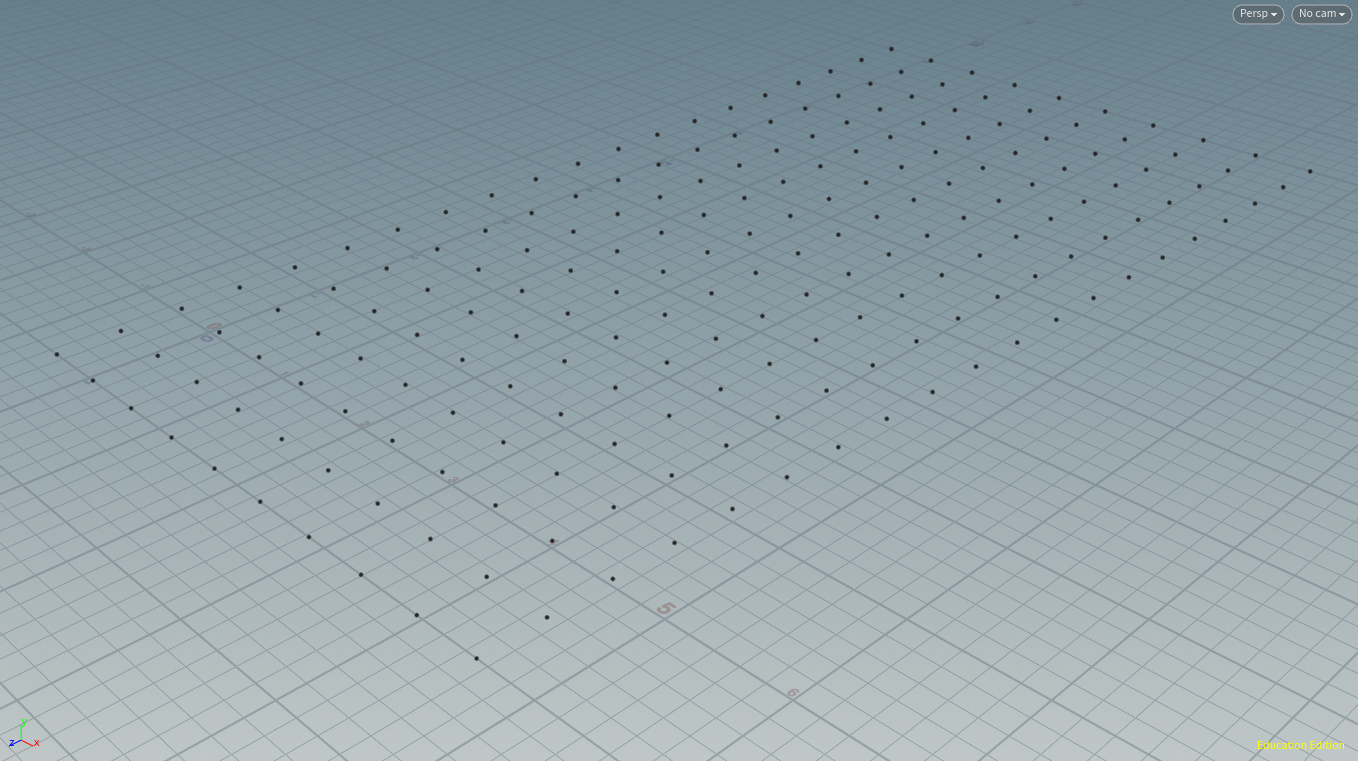
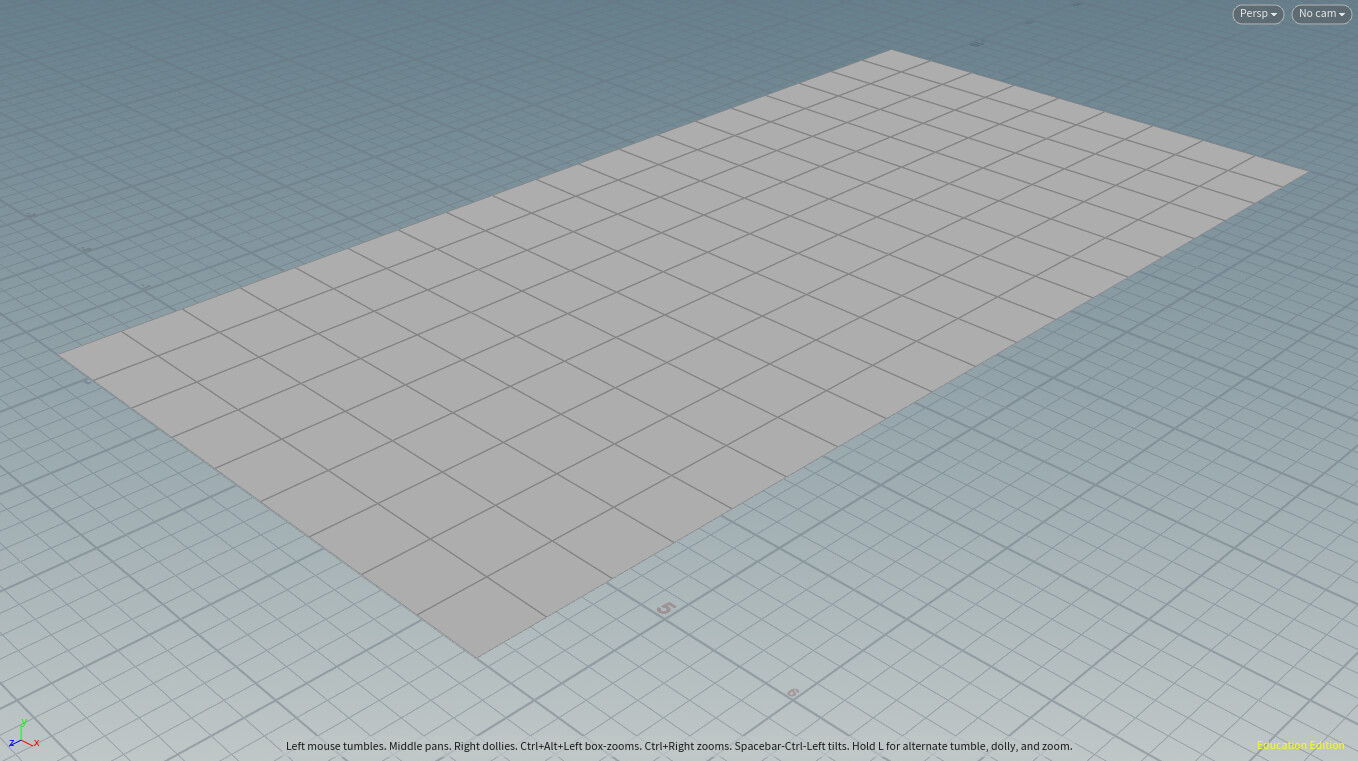
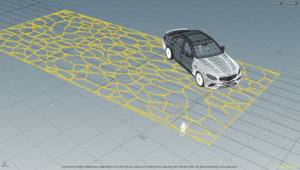
I went on and started building my cobblestones procedurally. I started out with a grid, deleted the geometry but kept the points.
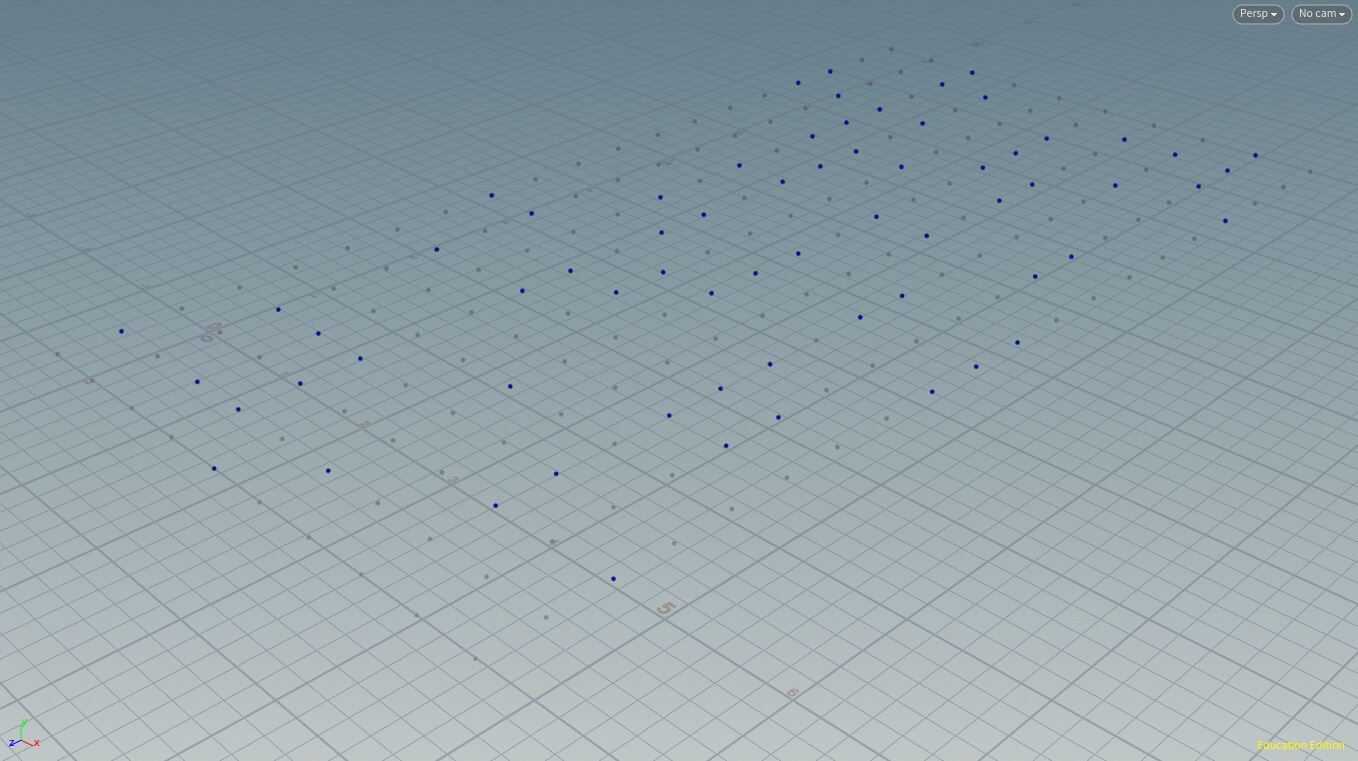
On one of the branches of points I used another Wrangle to randmly orient a copied line onto the points. Later I got rid of the line and retained the points.
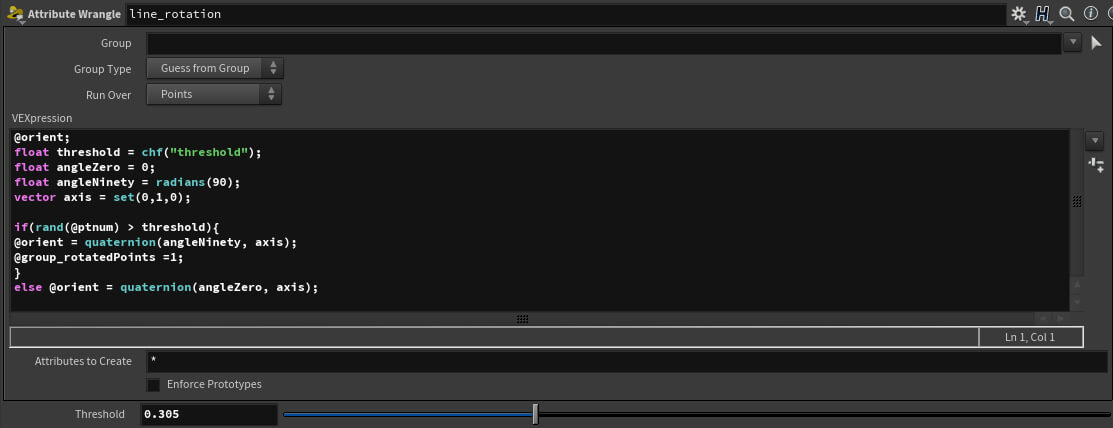
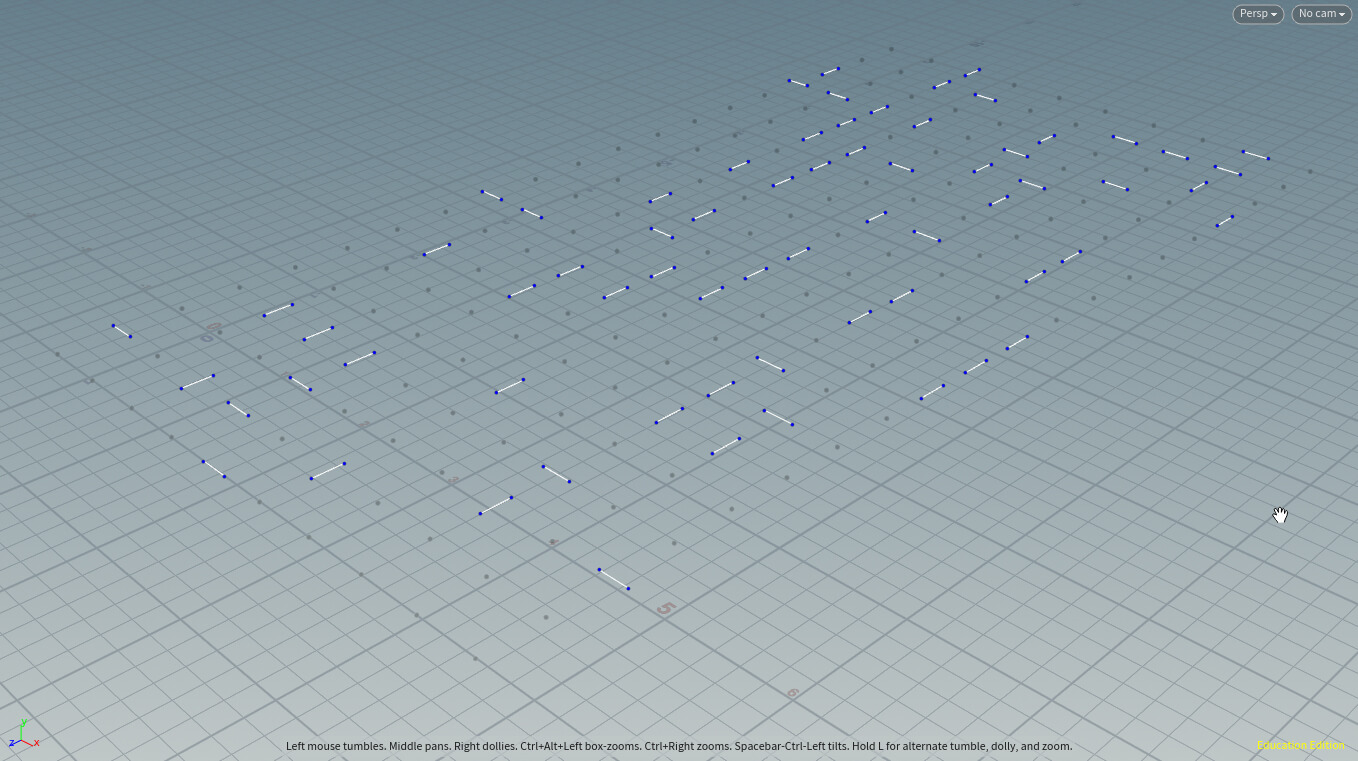
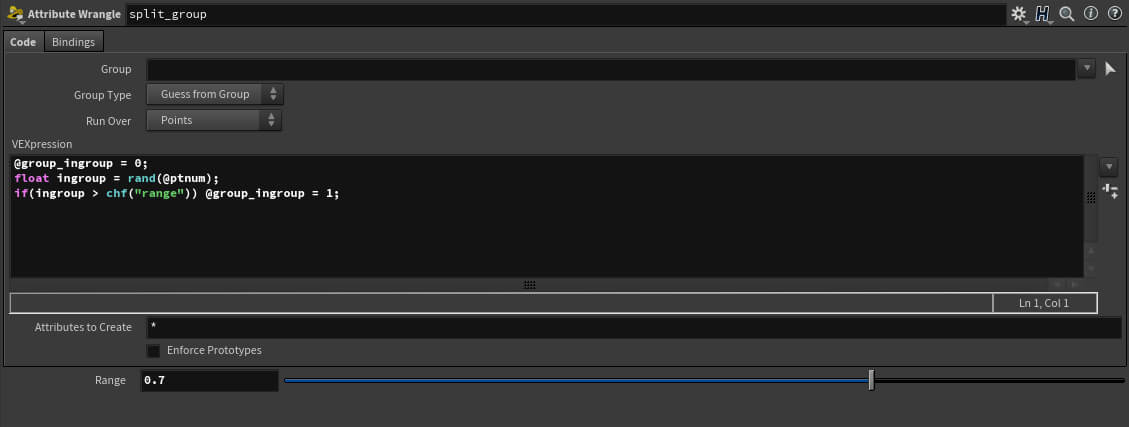
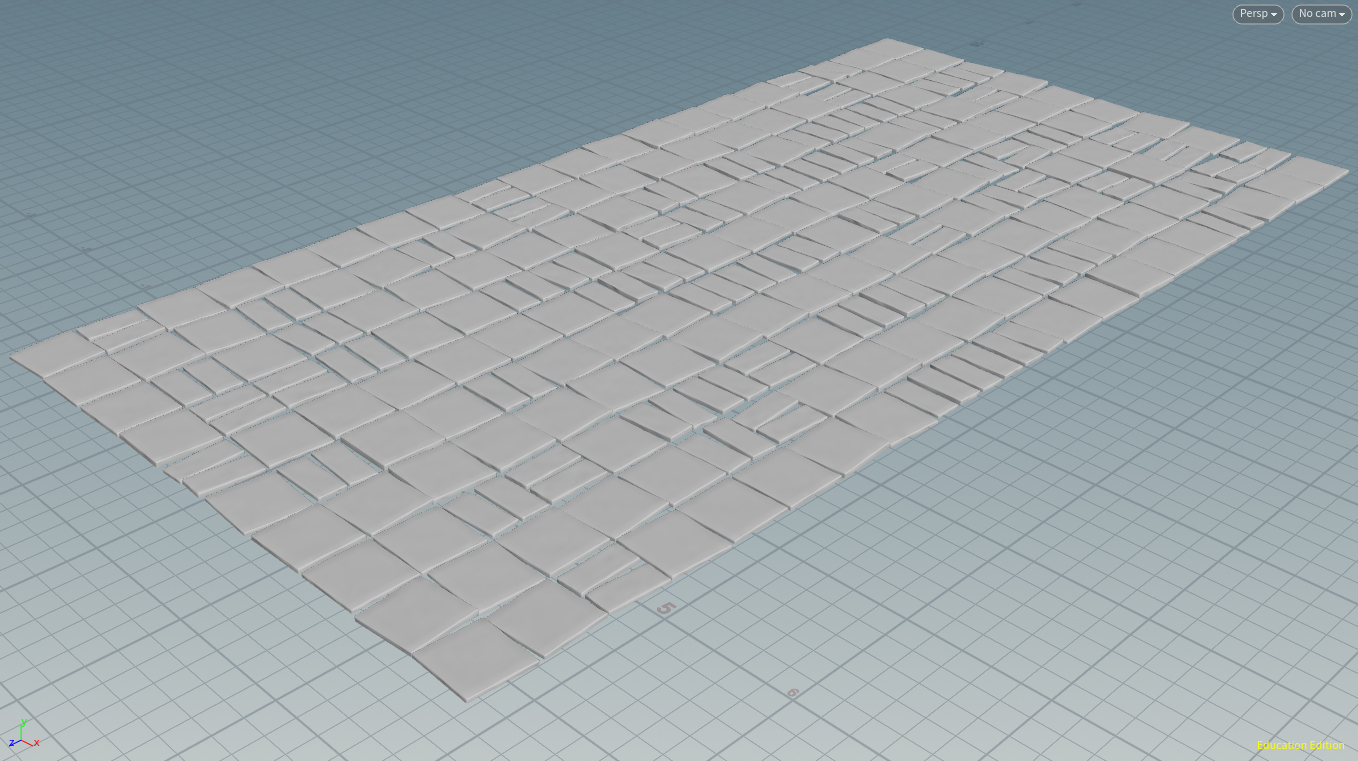
Now after all this voodoo stuff I put the points back together but I made sure I had a way of differentiating them (with a group). With yet another Wrangle I set up scales and orients for them to receive a grid being copied onto them. By using this method I achieved a way of varying the rotation of smaller double cobblestones (If you are a super advanced user you might think this is trivial but to me this is the biggest accomplishment of my life).


I was planning on having a gnome as the main point of focus for the scene. I even had a reference model ready to be modeled. I put said reference into Maya and after some steps, I quickly realized quickly that I didn’t wanna model anything (maybe sculpting it in Zbrush would make more sense, but I wanna focus on the Houdini side of this). I gave up and ended up using the good old Stanford Bunny. Lame and predictable? maybe NO, it’s perfect! Still think it’s lame? Wait until you see the finished project, and you’ll see oh, how wrong you are, ok?
Ok, so I cleaned it up and set some curvature calculations on it to give it some proper wear and tear and kind of used a point that procedurally and automatically inherits the normals of the cobblestone it’s on to always place the model correctly oriented (another proud moment for me. I celebrate every little silly solution I come up with).
Once I was done with that I added some l-systems grass moss to the spaces between the cobblestones. I’m kind of lazy at the moment and I’d love to go over how I did this step, but I think I’ll talk about it some other time. I’ll either update this post, or just make another one. It’s not such a big deal, really.
After all this I started playing around with some materials and lighting. I don’t wanna use any texture maps, so I created some patterns on the stones using noises, curvature and adding or multiplying them by themselves. A bunch of MAT context nodes later I had some basic materials and lighting for the scene. I salvaged a bunch of IPR renders from my tests and put them together in the following video so you can see the progression.
Now the stuff I was procrastinating. I took the previously existing rain system I had setup last year for Vanicha’s project and put it into this file. I had to update some things here and there and while doing so I quickly realized that I had to replace a crucial element of it. I made use of the clip node to separate the splashes from the poodles in the original prototype, but that wouldn’t work here because I don’t have an even flat surface as a ground plane. So I decided to use VDBs to create bounding volumes to separate the points on surfaces from the points in mid-air by using groups. A few tweaks later here and there, and I tested a rough version of it and here’s a super early and rough result. It kind of works!
Hopefully when I put in more hours I get to improve many things.


